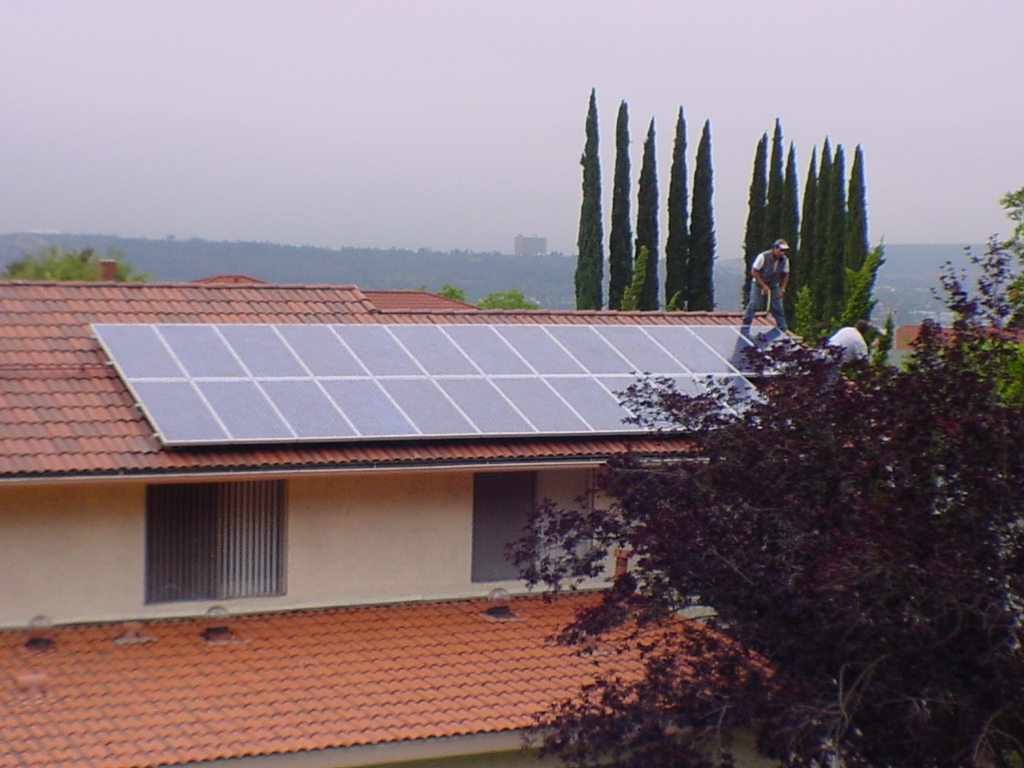
Installation for Light Spanish Tile Solar Roofs
With light Spanish tile roofs we have a specific method to insure a waterproof and clean installation.
As always, our first consideration is which roof surface is optimum.
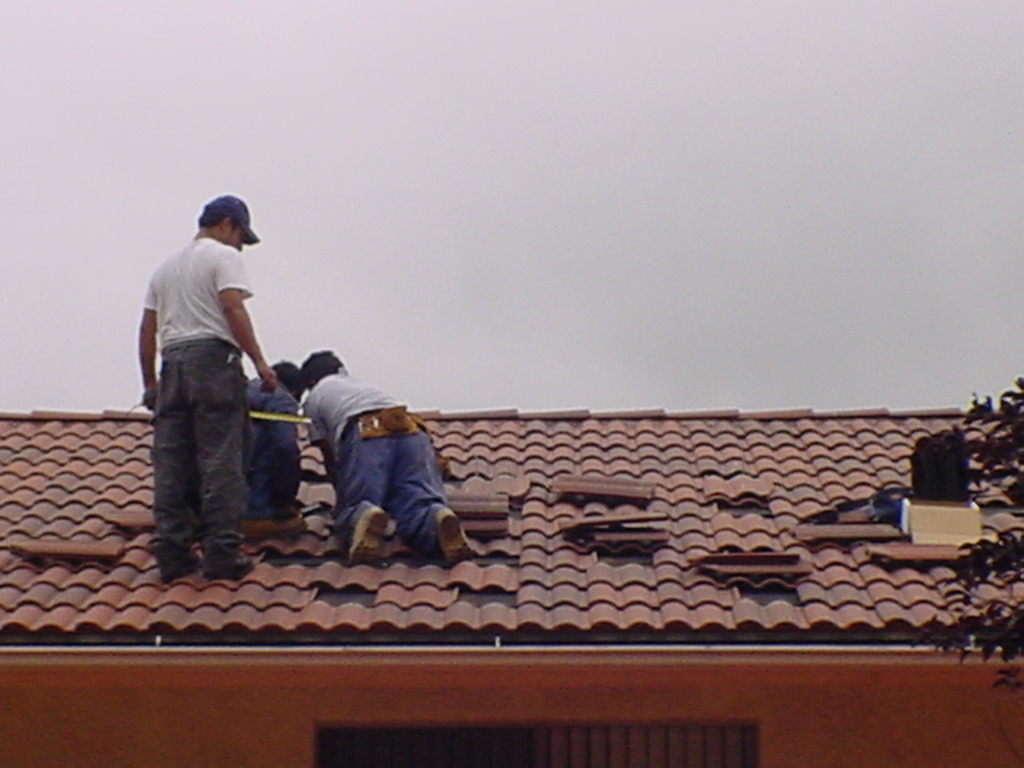
Removing Specific Tiles
For light Spanish tile roofs we remove the tiles above the rafters that we then install mounting feet.
The mounting feet fit under the tile and are the primary component of a roof top solar installation.
Each tile has a hole drilled, the tile is replaced and the riser is attached to
the mounting feet.
Feeder Drill Holes
Once the rafters and the layout of the feet are determined we will drill feeder holes to make bolting the feet to the rafter smooter, safer and stronger. 5/16" by 3" lag screws are used per mounnting foot.
Waterproofing
All of our work uses standard roofing penetration waterproofing materials, which includes "Henry's" and tacky tape. Our installs come with a 10 year warranty so correct waterproofing is our job #1.
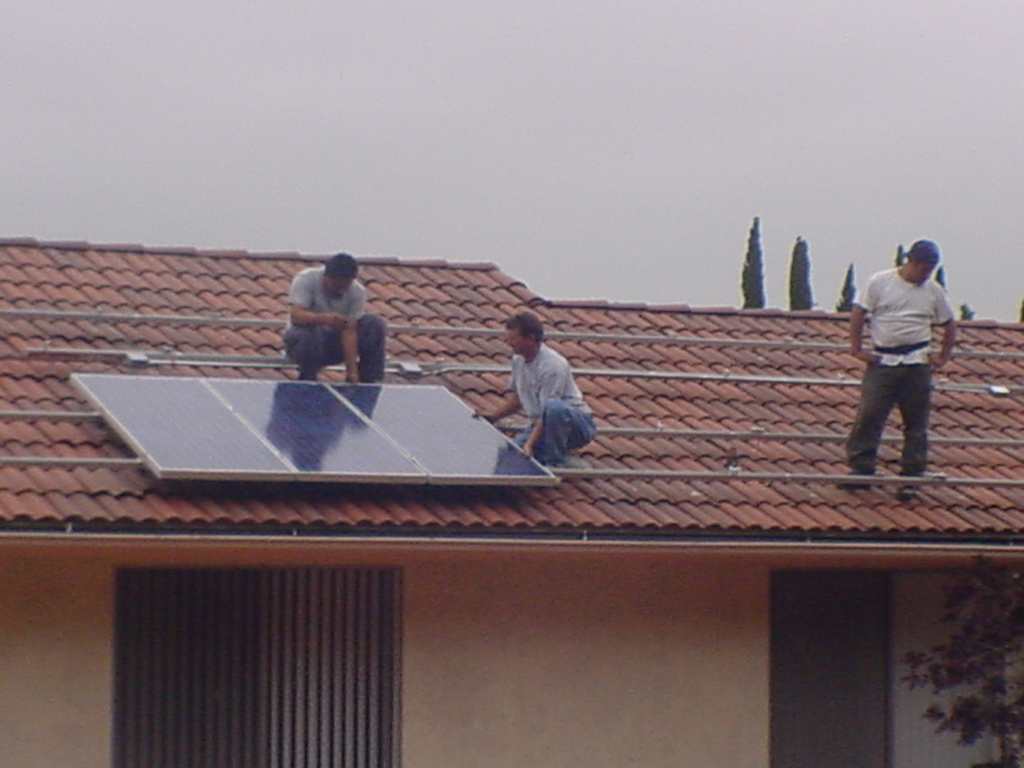
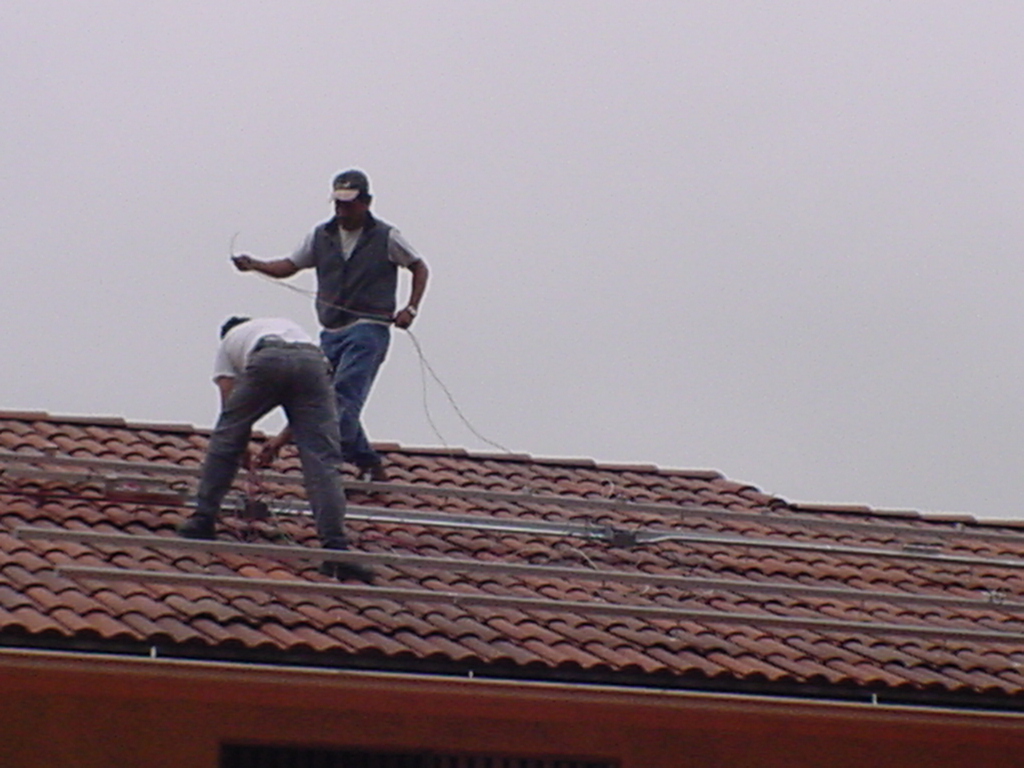
Solar Rails Attach to Solar Mounts
The solar rails are laid along the solar mounts to check for distance.
The number of solar panels is calculated by width or height depending on if your installation is portrait or landscape.
For example, we consider the Mitsubishi Solar 185 watt panel to be 33" by 66", which is slightly bigger than their actual size to account for mounting parts.
The rails are then drilled above each solar mount and then attached with washer and bolt.
Solar Panels are Attached to the Rails
The funnest part of the installation is attaching the solar panels to the solar rails.
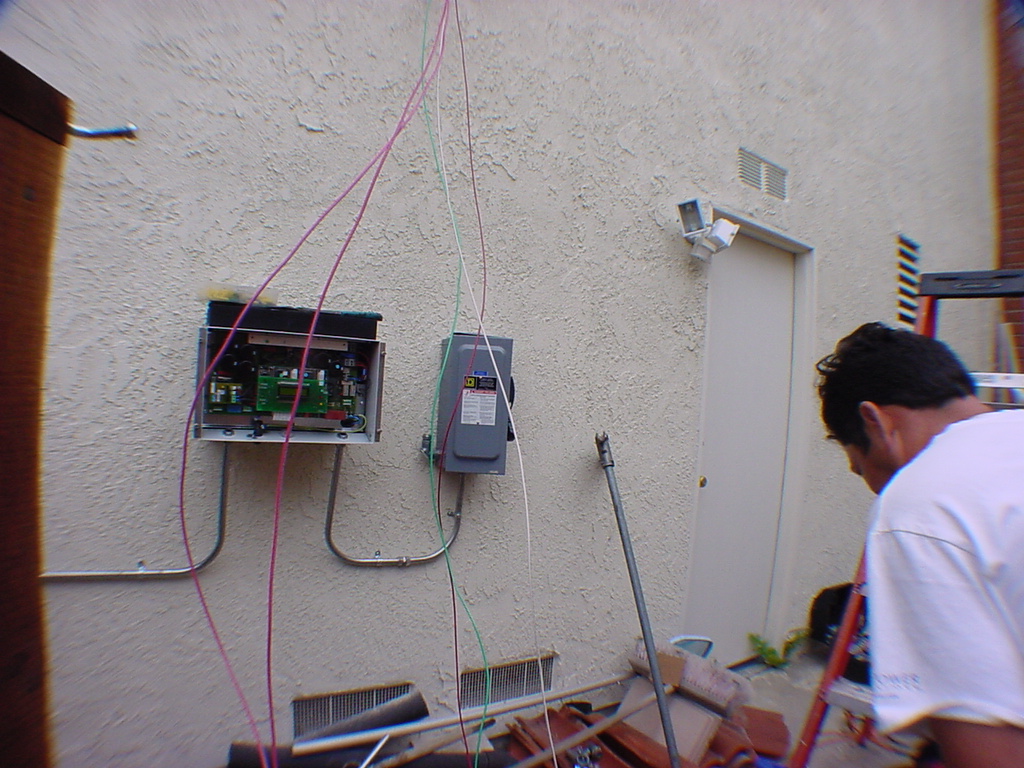
The solar panels are then wired in series and then paralell to a junction box and then
to the DC Disconnect switch.
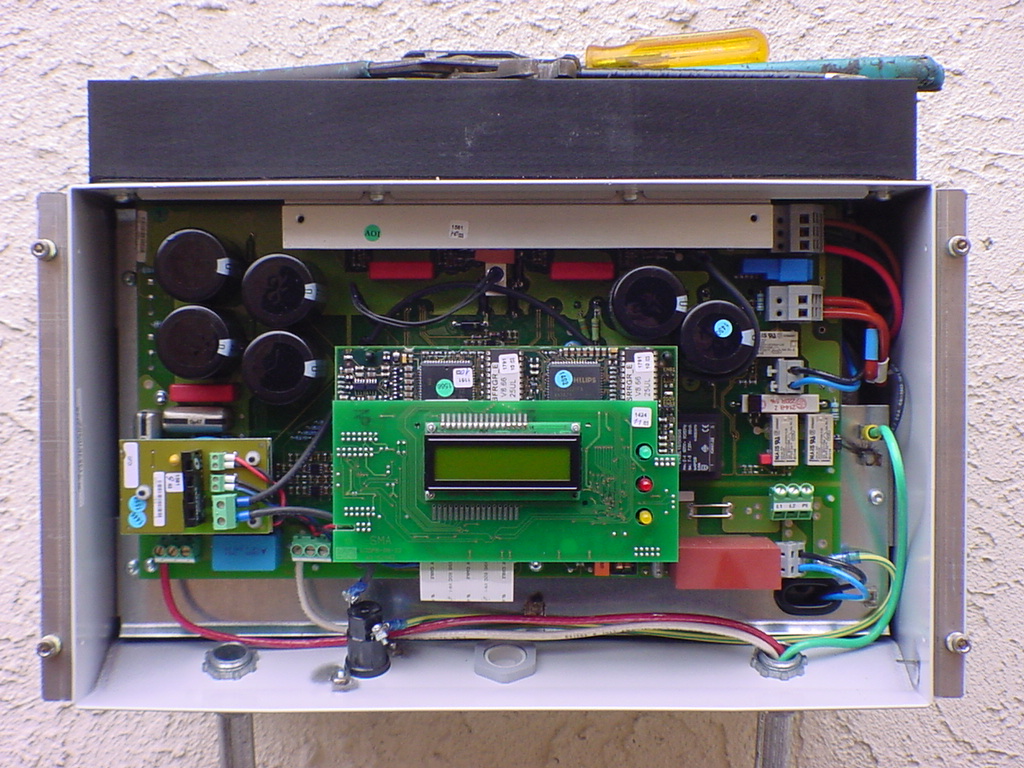
From the DC Disconnect we connect to the Inverter and change the solar DC electricity
to AC Grid-Tie electricity.
When you make more power than you use, your meter spins backwards.
|
