Installing Solar on a Stamped Metal Roof
Stamped metal roofs can look simple, but the installation must be planned around the roof’s profile: where you penetrate, how you seal, how you route wiring, and how you keep the roof looking clean. This page preserves the original ABC Solar photo sequence and upgrades it into a modern, mobile-first format.
Profile dictates the details
Stamped metal isn’t flat—mount height, flashing shape, and tile/metal “landings” must match the profile.
Corrosion control matters
Proper materials + isolation where needed prevents galvanic corrosion and keeps hardware looking good.
Serviceability is intentional
Wire routing, junction access, and array spacing are designed so future work is easy and clean.
Project example: Berman Solar Estate (3kW Grid-Tie)
Flat roofs have two basic techniques for installation—and stamped metal roofs share some of the same priorities: clean layout, careful waterproofing, and disciplined electrical routing. This example system is a 3kW grid-tie install documented during construction and later stages of the home.
1) Mounting Feet (start at the plywood stage)
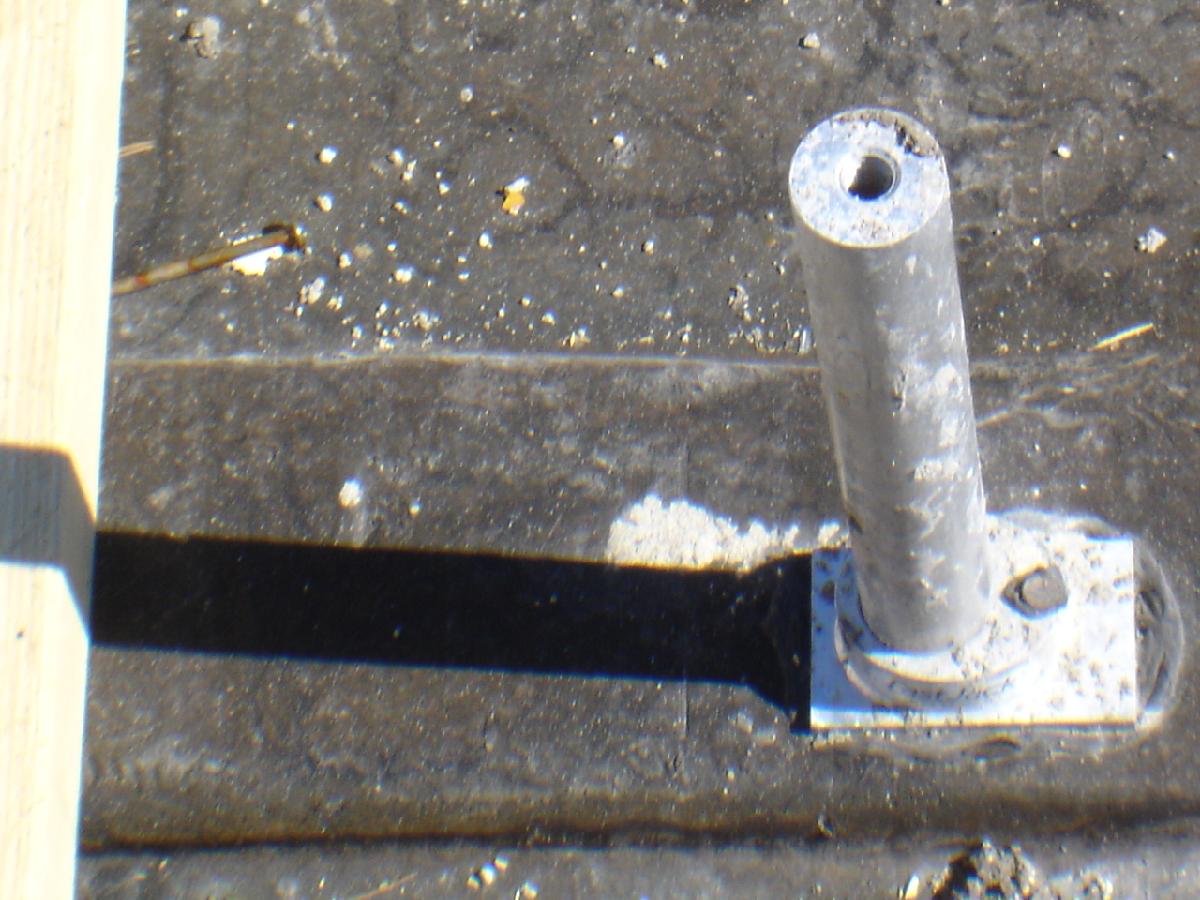
On this project, because it’s new construction, we start with the mounting feet at the plywood stage. Mounting feet are the primary component of a rooftop solar installation: they anchor the system and create the attachment points for the rails that hold the solar panels.
On retrofit solar installations, mounting feet are installed by a licensed roofer. On stamped metal, the key is matching the roof profile and sealing every penetration correctly.
2) Waterproofing (built into the roofing process)
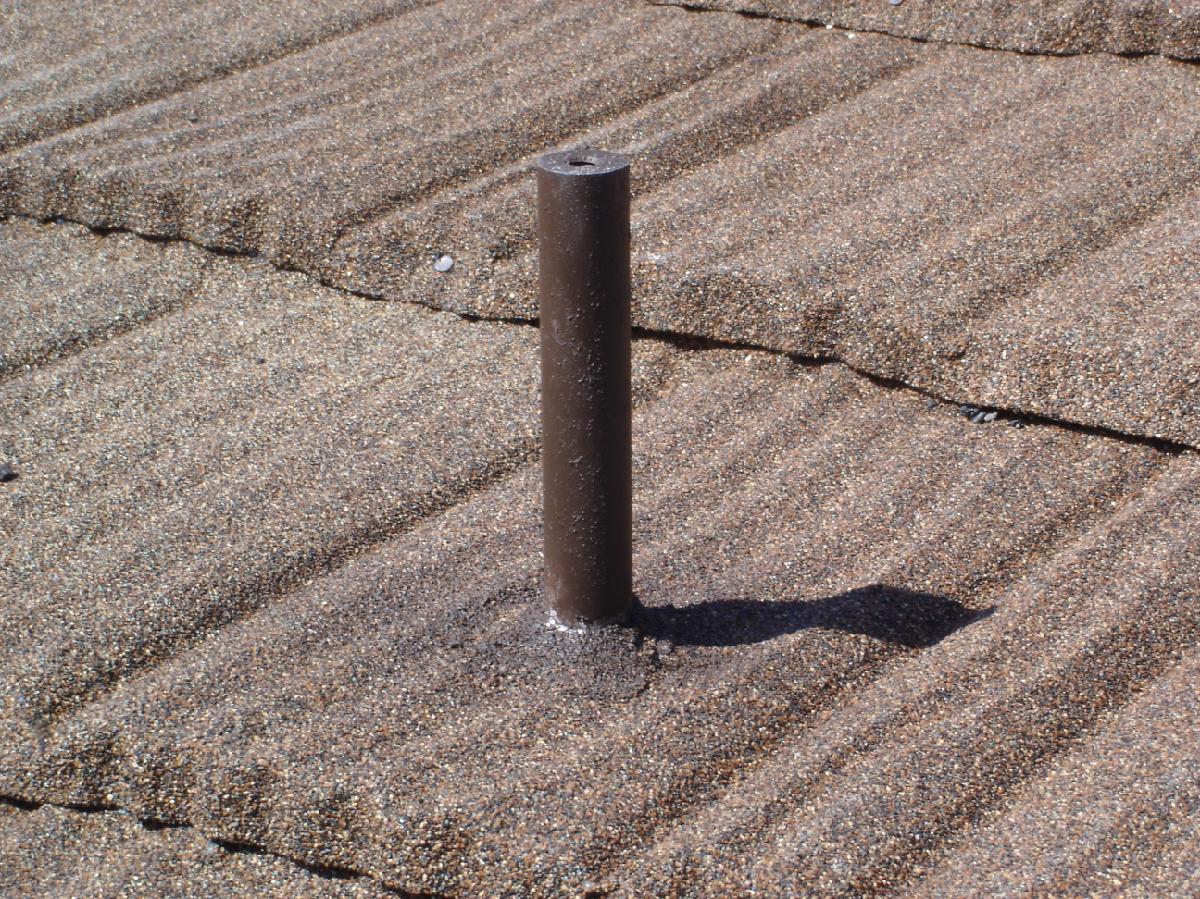
Waterproofing is done during the roof installation process. After the solar mounts are set, the roof crew lays roofing paper and completes their tar/touch work.
Each solar mount requires the stamped metal roofing material to have holes drilled to fit the solar mount. All systems use standard roofing penetration waterproofing materials, including Henry’s and tacky tape.
3) Feeder Drill Holes (smooth, safe, strong)
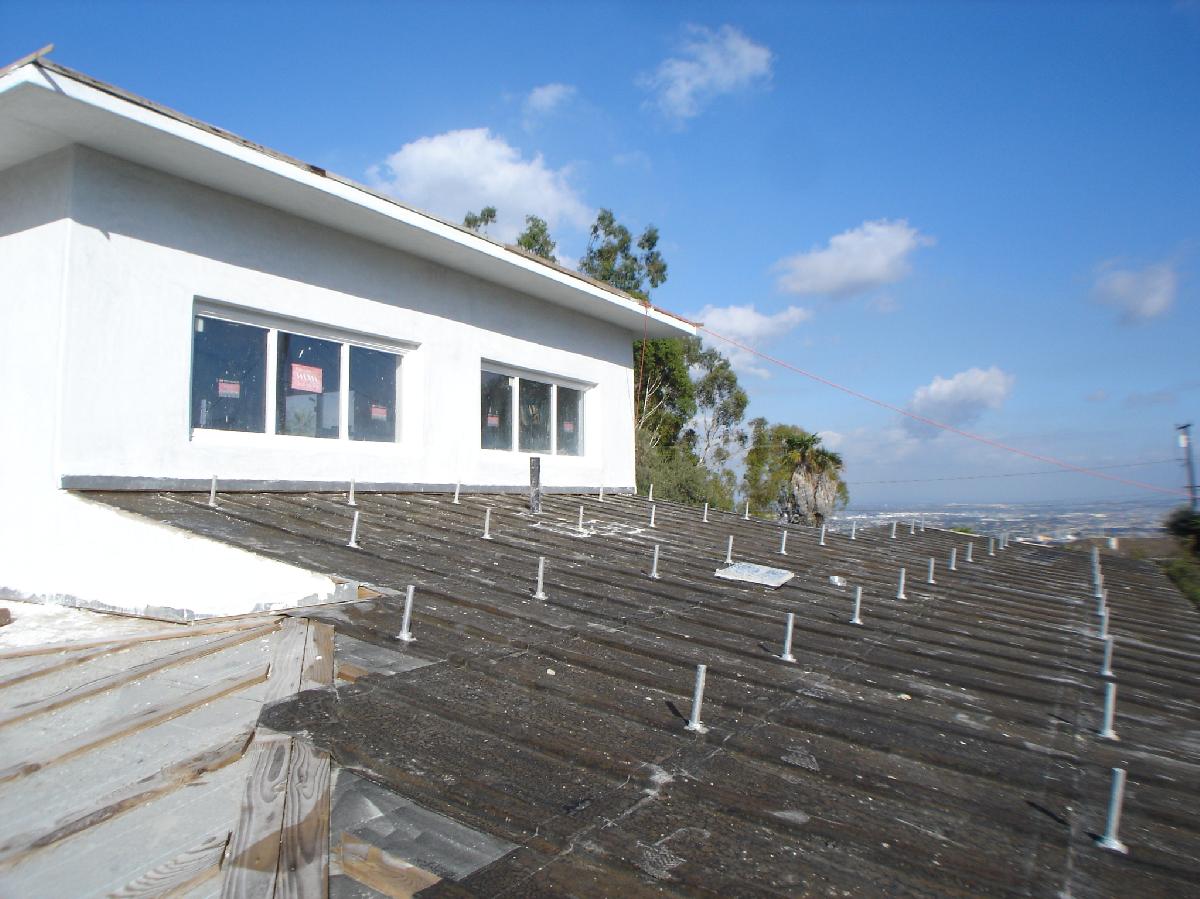
Once rafters and the layout of the feet are determined, we drill feeder holes to make bolting the feet to the rafter smoother, safer, and stronger.
Original documentation references 5/16" x 3" lag screws per mounting foot (final specifications vary by engineering and site conditions).
4) Solar Rails Attach to Solar Mounts (straight now = beautiful later)
After the home is almost done, rails are laid along the solar mounts to check for distance and straightness. The number of solar panels is calculated by width or height depending on whether the installation is portrait or landscape.
In the original notes, the Mitsubishi 185W panel is treated as 33" x 66" for layout purposes (slightly larger than actual) to account for mounting parts. Rails are drilled above each mount and attached with washer and bolt.


5) Solar Panels Are Attached to the Rails (wire management matters)
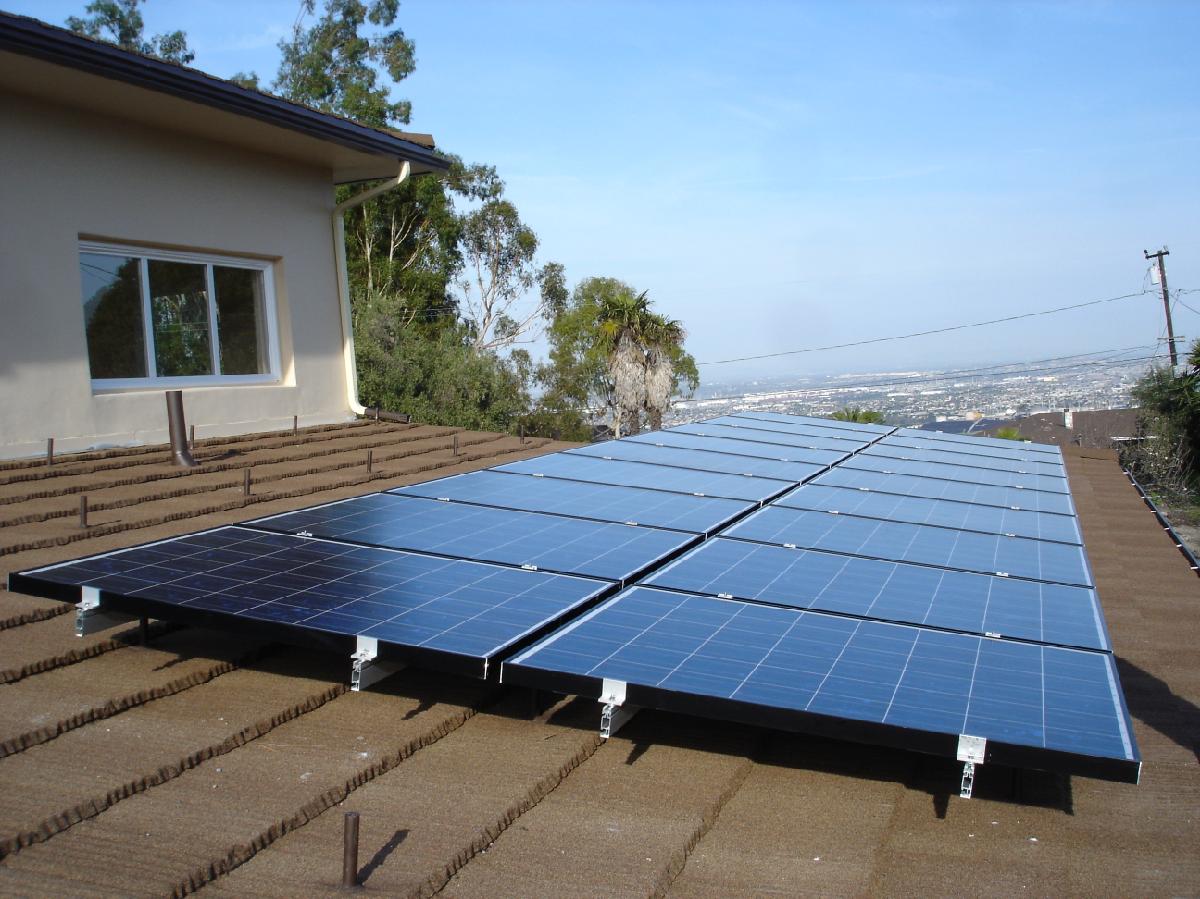
With rails in place, panels are attached and wiring is dressed. This 3kW grid-tie system spins the meter backwards for most of its production day—and the rest of the home is a model for green building.
On stamped metal roofs, we pay special attention to wire routing to avoid abrasion on sharp edges and to keep everything serviceable.

Stamped metal roof checklist (what we verify before we build)
These are the details that separate “installed” from “installed correctly.”
Profile + landing points
Stamped metal has repeating ribs/valleys. Mounting points must land where sealing is reliable and load paths are correct.
Penetration sealing strategy
Hole size, flashing method, sealant compatibility, and compression all matter. We design penetrations to stay sealed.
Corrosion compatibility
We avoid mixed-metal issues where needed and confirm hardware/coatings make sense for the roof environment.
Wire abrasion control
Edge protection and tidy routing prevent chafe. Good wire management is part of workmanship.
Thermal movement
Metal moves. We plan wire slack, clamp locations, and routing to accommodate expansion and contraction.
Roof access + service paths
We keep pathways realistic so future service doesn’t turn into a roof damage event.
First consideration: picking the best roof face
The first consideration for all solar installations is picking the best roof face to use for your system. Factors to consider are shade from trees and chimneys and the conduit run from the panels to the main electrical panel.
Design it right once. Install it clean once. Service it easily forever. CCL#914346